
How to Install 35-ds3chipdus3: Step-by-Step Installation Guide
How to install 35-ds3chipdus3 means placing a special chip on a board carefully. It helps the device work correctly. Installing it in the right way keeps the system safe and running well.
Many people find installing chips tricky at first. A simple guide can make it easy. Learning step by step saves time and avoids mistakes.
You need some tools and a clean workspace to install the chip. Checking the orientation is very important. Following each step carefully ensures the chip works perfectly.
What Is the 35-ds3chipdus3?
The 35-ds3chipdus3 is a highly specialized electronic component used in various devices, ranging from advanced computing systems to industrial electronics. Its primary role is to manage specific data processing or signal handling tasks that are critical for device performance. Unlike general-purpose chips, the 35-ds3chipdus3 is designed for precision and reliability, often operating in environments where accuracy and stability are paramount.
For example, in computing boards, it ensures that data is routed correctly and efficiently, while in industrial control systems, it can manage timing signals to maintain machinery synchronization. Understanding the chip’s role helps highlight why proper installation is essential. Improper placement or orientation can lead to system failures, degraded performance, or even permanent damage to both the chip and the board. In essence, the 35-ds3chipdus3 is the heartbeat of certain electronic systems, making correct installation a critical task.
Tools Required Before You Install
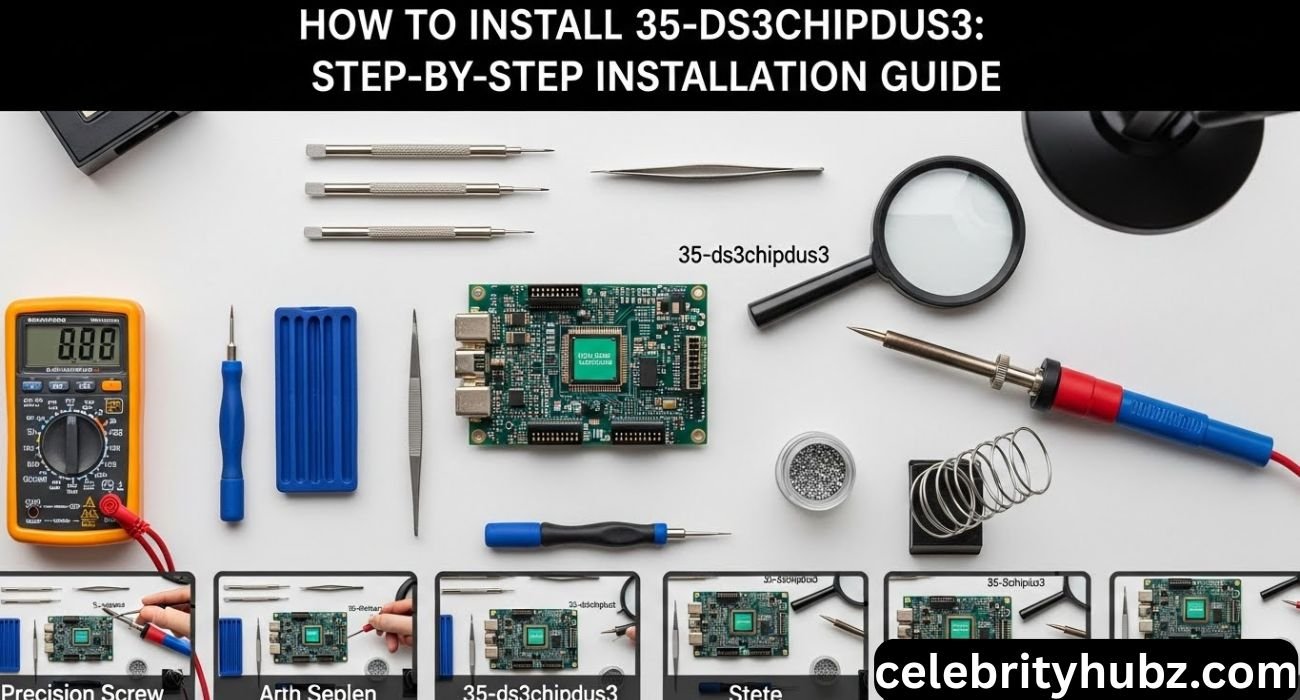
Before you begin installing the 35-ds3chipdus3, gathering the right tools is essential. A proper setup ensures safety and efficiency during installation. You will need a quality soldering iron with adjustable temperature control if you are soldering the chip, or a compatible chip socket for non-solder installation. An anti-static wrist strap is crucial to prevent electrostatic discharge that could damage sensitive electronics. Other helpful tools include a magnifying glass or microscope, precision tweezers, flux, isopropyl alcohol, and lint-free cleaning wipes.
For beginners, having a chip insertion guide or board schematic can reduce errors. Safety is also critical, so protective eyewear and a well-ventilated workspace are recommended. Skipping these preparations can increase the risk of mistakes, which can be costly in both time and money.
Step 1: Power Down the System
Before touching the board, it is crucial to power down the system completely. Unplug all power sources and disconnect any batteries if applicable. This step is not optional; it protects both you and the chip. Even a small residual current can fry delicate components like the 35-ds3chipdus3.
Take a moment to discharge any static electricity by touching a grounded metal object before handling the chip. Treat this step as a safety ritual because, without it, every other step in the installation process could lead to failure or damage.
Step 2: Locate the Chip Area on Your Board
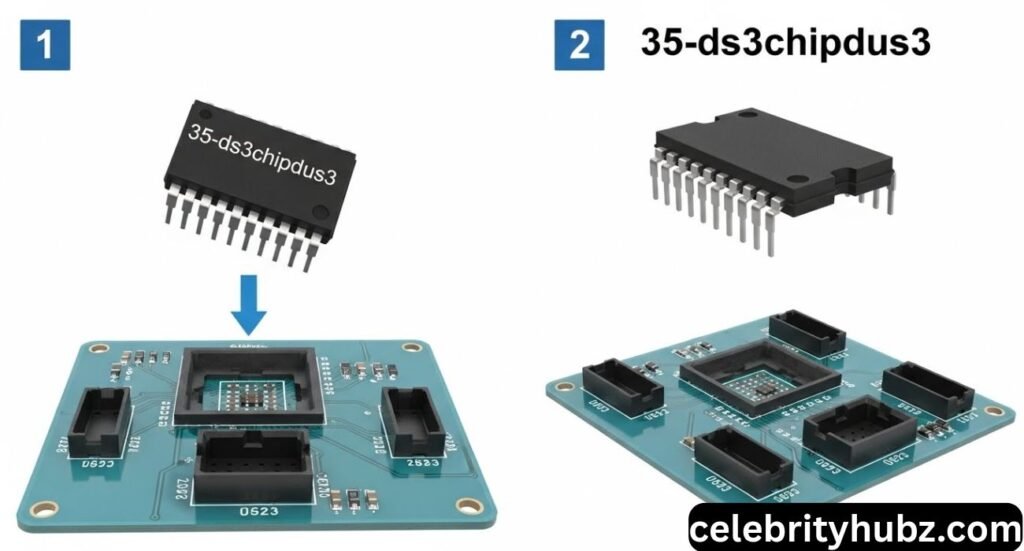
Finding the correct location for the 35-ds3chipdus3 is critical. Most boards have a designated area clearly marked in the board schematics or user manual. The chip area is usually distinguished by specific pin layouts and labels. It is recommended to compare the chip’s pin count and orientation with the board markings carefully.
A common mistake is confusing the 35-ds3chipdus3 area with nearby components that may look similar. Taking the time to visually inspect the board and refer to manufacturer diagrams can save hours of troubleshooting later. Remember, accuracy at this stage is more important than speed.
Step 3: Orientation and Placement
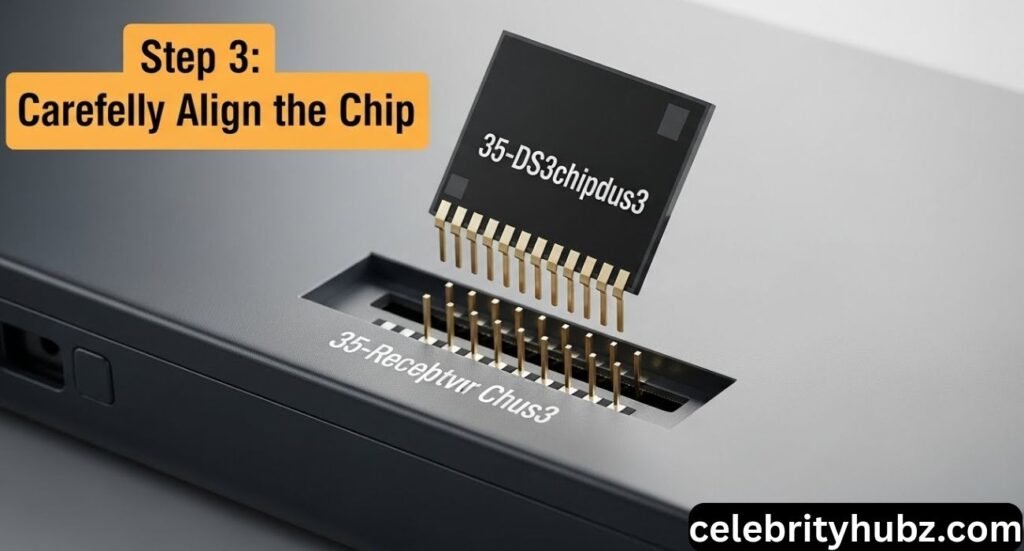
The orientation of the 35-ds3chipdus3 is one of the most critical factors in successful installation. Most chips have a notch, dot, or marking indicating pin one, which must align with the corresponding marker on the board. Placing the chip incorrectly can cause shorts, incorrect data processing, or even permanent damage.
When placing the chip, ensure it sits flush against the board. If you are using a socket, gently insert it without forcing. If soldering, check the alignment before heating any solder. This careful placement ensures the chip operates reliably and reduces the need for rework.
Step 4: Socket or Solder the Chip
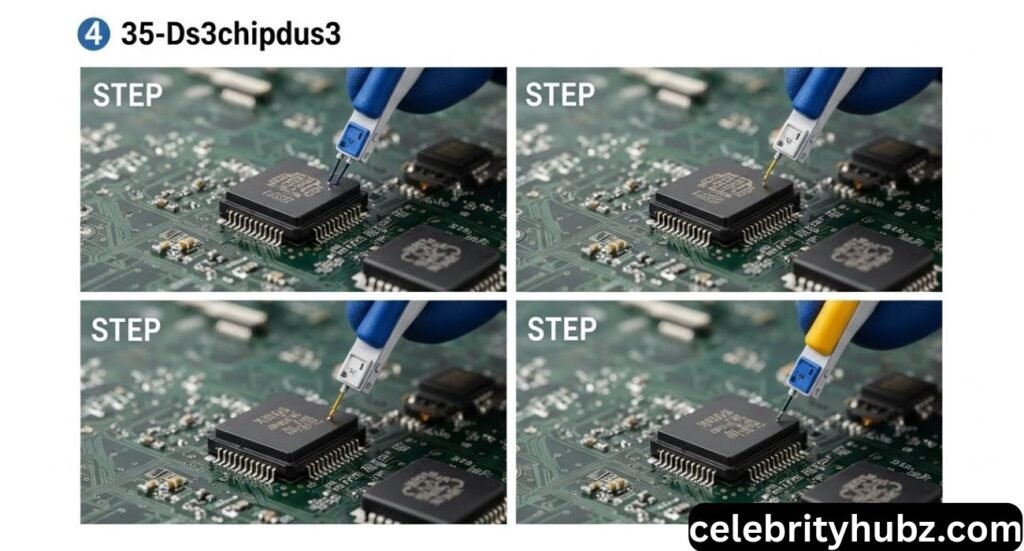
Installing the 35-ds3chipdus3 can be done via a socket or by soldering, depending on the board design. For socket installation, simply align the pins and gently press the chip into place until it clicks. Ensure all pins are properly seated and none are bent.
Soldering requires more precision. Preheat the soldering iron to the correct temperature (usually between 350–370°C for leaded solder) and apply a small amount of flux to each pin. Carefully solder each pin, ensuring there are no cold joints or bridges between pins. If you are new to soldering, consider practicing on a spare board first. The difference between a secure solder joint and a poor one can determine whether the chip works correctly or fails.
Step 5: Inspect and Clean the Area
After the chip is installed, inspection and cleaning are vital steps. Use a magnifying glass to check for bent pins, solder bridges, or misalignment. Even a tiny error can lead to malfunction. Once inspection is complete, clean the area with isopropyl alcohol to remove flux residue and other contaminants.
A clean installation area not only improves the chip’s electrical contact but also reduces the risk of corrosion over time. Remember the saying in electronics: “Clean connections last longer.” Taking this extra time can prevent future failures.
Step 6: Reassemble and Test
With the chip installed, reassemble your system carefully. Reconnect all cables, power sources, and peripheral components. It is recommended to do a preliminary power-on test in stages, starting with powering the board without heavy loads to ensure nothing shorts out.
Observing the system for any unusual sounds, smells, or behavior is crucial. This staged approach allows you to catch issues early before they cause further damage.
Step 7: Verify Functionality of the Chip
The final step is verifying that the 35-ds3chipdus3 is functioning correctly. Many modern boards provide diagnostic software or LED indicators to confirm proper operation. Run performance checks, and ensure the data or signals the chip manages are being handled correctly.
If issues arise, double-check orientation, solder joints, and connections. Verification ensures the chip not only powers on but also performs its intended functions reliably.
Why Correct Installation Matters
Installing the 35-ds3chipdus3 correctly is not just about making the system work; it affects the longevity, reliability, and efficiency of the entire device. A poorly installed chip can cause intermittent failures, data errors, or overheating, which may lead to permanent damage.
Many technicians agree that investing time in precise installation prevents costly repairs and downtime later. Correct installation also ensures compliance with manufacturer warranties and safety standards.
Tips for a Smooth Installation
To make the installation smoother, always work in a clean, well-lit environment. Using a magnifying tool can dramatically improve accuracy. Avoid rushing; take frequent breaks if needed. Keeping your workspace organized, labeling tools, and following step-by-step instructions will minimize mistakes. Remember, patience is as important as technical skill when working with delicate chips like the 35-ds3chipdus3.
Buying Guide for 35-ds3chipdus3
When buying a 35-ds3chipdus3, quality and authenticity are paramount. Purchase from authorized distributors or verified online retailers in the USA. Check specifications, pin configuration, and compatibility with your board before buying. A table of some important factors is helpful:
| Factor | Details |
| Brand | Prefer original manufacturers or certified distributors |
| Compatibility | Check model and board requirements |
| Warranty | Ensure at least 1-year warranty for protection |
| Price | Avoid unusually cheap options that may be counterfeit |
| Reviews | Look for verified user feedback |
Choosing the right chip ensures installation success and long-term reliability.
Common Issues When Installing
Even experienced technicians sometimes face challenges. Common problems include incorrect chip orientation, bent pins, solder bridges, insufficient cleaning, or static damage. These issues often manifest as a non-functional chip, overheating, or intermittent signals.
Learning from these mistakes and double-checking each step can save time and prevent frustration. In case of persistent issues, consulting technical support or online forums specializing in 35-ds3chipdus3 can provide additional guidance.
Read Also : Business Ftasiastock Market Trends from FintechAsia
Introduction to 35-ds3chipdus3
The 35-ds3chipdus3 is a high-performance chip widely used in electronics for efficient data processing. It plays a crucial role in ensuring devices run smoothly, from computing systems to industrial equipment. Understanding this chip’s function is essential for proper installation and optimal performance.
Proper knowledge of the chip allows technicians to avoid errors during installation. It also helps in troubleshooting future issues. Learning about its specifications, pin layout, and compatibility with various boards is the first step toward safe and reliable handling of the 35-ds3chipdus3.
Essential Tools for Installation
Installing the 35-ds3chipdus3 requires the right tools to ensure accuracy and safety. Key items include a soldering iron, flux, anti-static wrist strap, tweezers, and a magnifying glass. Having all tools ready before starting prevents mistakes and reduces installation time.
Safety equipment is equally important. Protective eyewear and a clean workspace help avoid accidents. Using proper tools not only protects the chip but also improves the quality of installation. Beginners benefit greatly from organized preparation and proper guidance.
Preparing the System
Before installing the 35-ds3chipdus3, always power down and unplug your device. This step prevents electric shocks and damage to sensitive components. Discharging static electricity by touching a grounded object is also essential to protect the chip.
Checking the workspace for cleanliness and proper lighting makes installation easier. Gathering all tools and materials in advance ensures a smoother workflow. A well-prepared system reduces errors and improves the chance of a successful chip installation.
Identifying the Chip Placement Area
Finding the correct location on the board is crucial for installing the 35-ds3chipdus3. Consult your device’s schematic or manual to locate the designated chip area. Mistaking nearby components for the chip site can cause serious errors.
Visual inspection and confirmation are important. Check the pin count, orientation markers, and layout carefully. Accurate placement at this stage ensures reliable functionality and prevents damage during soldering or insertion.
Proper Orientation of the Chip
Correct orientation is vital when installing the 35-ds3chipdus3. Most chips have markings indicating pin one, which must align with the board. Misalignment can cause shorts, overheating, or total failure.
Carefully checking the alignment before insertion or soldering prevents costly mistakes. Using a magnifying glass or microscope ensures accuracy. Orientation is a small step that has a large impact on performance.
Soldering vs Socket Installation
The 35-ds3chipdus3 can be installed using a socket or soldering. Socket installation is simpler and safer for beginners, while soldering provides a permanent connection and better reliability. Each method has pros and cons depending on the board type.
Soldering requires precision and correct temperature to avoid cold joints. Using flux and cleaning tools ensures proper connections. Choosing the right installation method is essential for long-term chip performance.
Testing the Installed Chip

After installation, testing the 35-ds3chipdus3 ensures it functions correctly. Run diagnostic software or use board indicators to check performance. Early detection of issues prevents system failures and costly repairs.
Monitor signals, temperatures, and outputs carefully. Proper testing confirms that the chip is properly seated and aligned. Skipping this step can lead to undetected problems that may worsen over time.
Maintenance and Troubleshooting
Regular maintenance ensures the 35-ds3chipdus3 continues to function properly. Cleaning the board, inspecting solder joints, and checking for loose connections prevent future failures.
If problems arise, troubleshoot by verifying orientation, connections, and power supply. Consulting manuals or forums for guidance can help resolve common issues. Proper care extends the life and reliability of the chip.
Conclusion
Learning how to install 35-ds3chipdus3 helps you work safely and correctly with electronic boards. Following each step carefully makes sure the chip sits in the right place and works properly. Using the right tools, keeping the workspace clean, and checking the chip’s orientation prevents mistakes. Installing the chip the right way also keeps the system safe and avoids damage.
Practicing how to install 35-ds3chipdus3 improves skills and confidence. Testing the chip after installation ensures it works well. Regular care and careful handling keep the chip lasting longer. By following the guide step by step, anyone can complete the installation successfully and enjoy a smooth, fully working system.